
RV Slide Out Seal Replacement: Complete DIY Guide (2026)
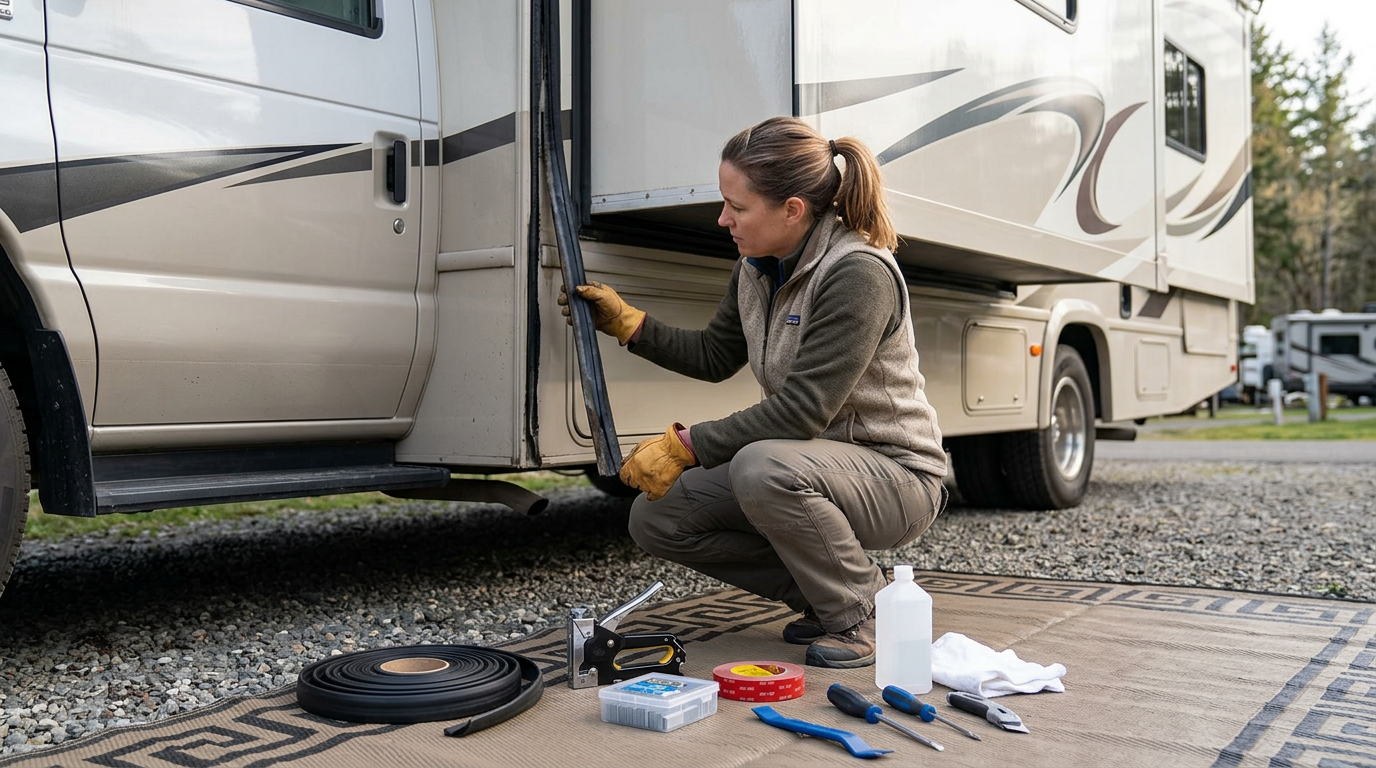
A slide-out seal that’s cracked, torn, or pulling away from the wall is a water intrusion problem waiting to happen — and water intrusion in an RV can destroy walls and subfloor in a single season. The seals are also the reason your slide-out doesn’t rattle at 70 mph. They matter.
This guide covers the different seal types used on RV slide-outs, how to tell when yours need replacing, how to do the job yourself, what it costs to hire out, and common mistakes that cause the new seals to fail prematurely.
Types of Slide-Out Seals
Knowing which seal type you have determines what you buy and how you install it. Most slide-outs use a combination of types.
Wiper Seals
Flexible rubber or vinyl seals mounted on the RV body that press against the slide-out room as it extends. They wipe the slide surface clean when retracting and seal the gap when extended. Usually found on the top and sides of the slide opening. Most common seal type. Brand names: Winnebago seals, Lippert/Schwintek, AP Products.
D-Seals (Bulb Seals)
D-shaped foam or rubber seals that compress when the slide is retracted to form an airtight barrier. Often on the slide-out room itself rather than the body opening. They’re the primary air and dust barrier when traveling.
Slide Topper Fabric
Not technically a seal, but an awning-like fabric that covers the top of the slide-out when extended, preventing debris, water, and UV damage from collecting on the slide roof. Separate from the main seals but worth inspecting at the same time.
Signs Your Seals Need Replacement
- Visible cracks, tears, or flattening in the rubber — the most obvious sign
- Water stains on the ceiling or wall around the slide-out — water is getting past the seal
- Drafts or wind noise while traveling that wasn’t there before
- Debris or insects getting inside when the slide is extended — the wiper seal isn’t closing off the gap
- Seal pulling away from the wall or slide surface
- Squealing or scraping sound when the slide extends or retracts — seal contact issue
How to Replace Slide-Out Seals (DIY)
Difficulty: Medium
Time: 2–4 hours per slide
Cost: $50–$200 in materials depending on slide size and seal type
The specific procedure varies by seal type and RV model, but the general steps apply to most setups.
Tools and Materials
- Replacement seal material (match your existing seal profile exactly — bring a 6″ piece of old seal to the supplier)
- Staple gun and 3/8″ staples (for stapled seals)
- 3M VHB tape or RV seal adhesive (for adhesive-mounted seals)
- Isopropyl alcohol (90%+) for surface prep
- Trim removal tool or flathead screwdriver
- Staple remover or pliers
- Scissors or utility knife
Step-by-Step (Wiper Seals)
- Extend the slide-out fully to give yourself maximum access to the seal channel
- Photograph the old seal installation from multiple angles before removing anything — you’ll want the reference
- Remove the old seal: Stapled seals — remove staples with pliers or a staple puller. Adhesive seals — peel carefully and use adhesive remover on residue. Some seals slide out of a track channel — they just pull straight out.
- Clean the mounting surface thoroughly with isopropyl alcohol. New adhesive or tape won’t bond to a dirty or oily surface. Let it dry completely.
- Cut the new seal to length, leaving an extra inch — you can trim to fit, you can’t add back what you’ve cut.
- Start at a corner and work along the channel, securing every 4–6 inches. For stapled seals: one staple every 4 inches. For adhesive: press firmly and hold each section for 30 seconds.
- At corners, cut a small V-notch in the seal to allow it to bend without bunching. Seal the notch cut with a bead of lap sealant or silicone.
- Trim the finished end flush.
- Test by retracting and extending the slide a few times. The seal should make consistent contact all the way around without binding or pulling away.
Common Mistakes
- Wrong seal profile. Slide-out seals are not universal — the profile, width, and durometer (hardness) matter. Always measure and match your existing seal exactly. Bring a sample to the supplier.
- Poor surface prep. Adhesive-mounted seals on a dirty or oily surface will peel within a few months. Clean thoroughly with alcohol.
- Not sealing corners. The corners are the highest-risk water entry points. Use lap sealant or butyl tape at every corner after installation.
- Skipping the conditioning step. New EPDM rubber seals benefit from a treatment with 303 Aerospace Protectant or a dedicated RV seal conditioner before first use — it extends the seal life significantly.
Cost to Have It Done Professionally
| Service | DIY Cost | Pro Cost |
|---|---|---|
| Single slide seal replacement (one side) | $30–$80 | $200–$400 |
| Full slide perimeter seal replacement | $50–$200 | $400–$800 |
| Slide with multiple slides | $100–$400 | $600–$1,500+ |
| Slide topper fabric replacement | $80–$200 | $300–$600 |
Preventive Maintenance to Extend Seal Life
- Apply 303 Aerospace Protectant or a dedicated EPDM conditioner twice a year — UV degradation is the #1 seal killer
- Clean seals with mild soap and water before applying conditioner — don’t condition over dirt
- Inspect visually after every extended road trip — catch small tears before they become water intrusion paths
- Lubricate seal contact surfaces with a dry silicone spray to reduce friction wear during extension and retraction
Bottom line: Slide-out seal replacement is a 2–4 hour DIY job with $50–$200 in materials. The critical steps are matching the seal profile exactly, cleaning the surface properly, and sealing corners. Skip this maintenance and you’re looking at water damage that costs 10–50x more to repair than the seals themselves. Inspect annually and condition with 303 Protectant twice a year.
Need a slide-out specialist?
Search the RV Repair Lab directory for Lab-Vetted shops and mobile techs with slide-out and seal experience.