
Travel Trailer Toilet Replacement: Step-by-Step Guide (2026)
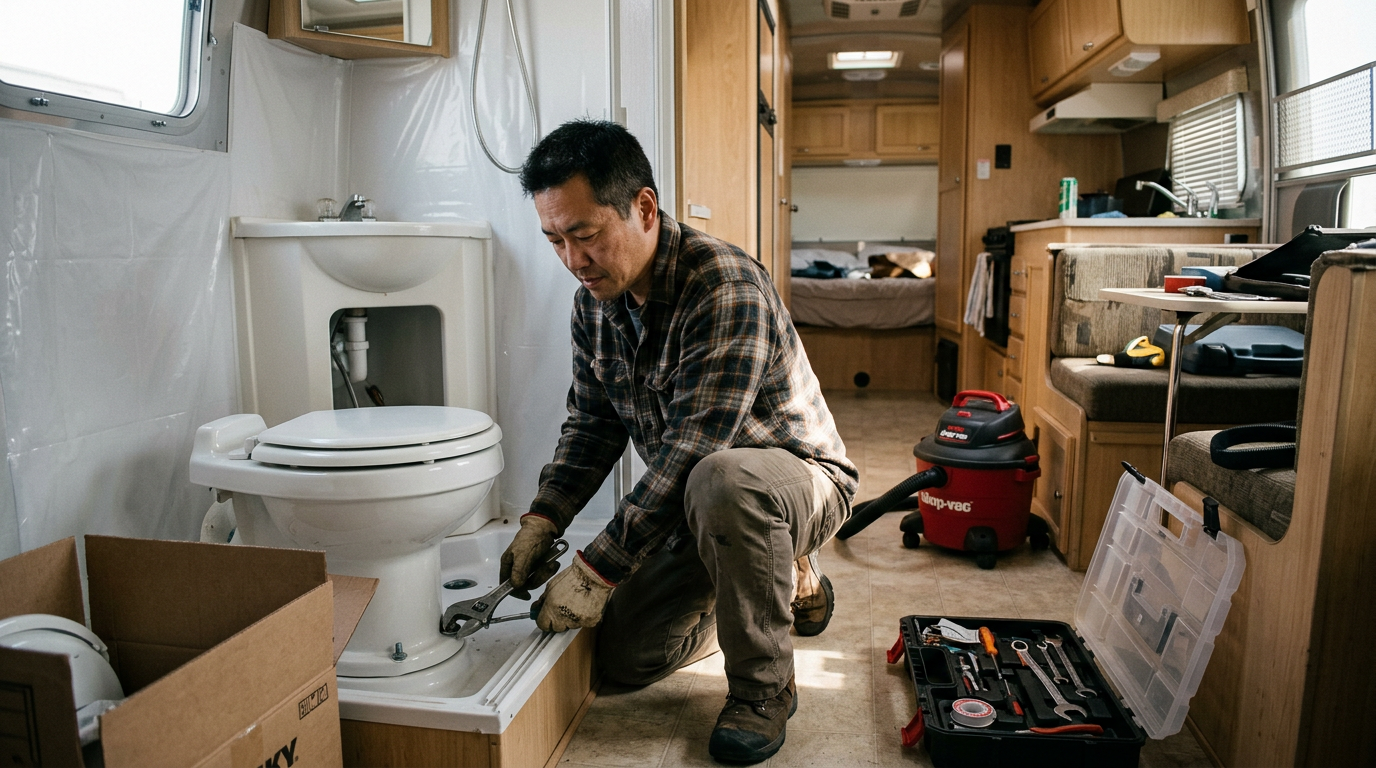
RV toilets don’t last forever. The blade seal eventually fails, the pedal mechanism cracks, or you just decide it’s time to upgrade from a plastic unit to porcelain. Whatever the reason, replacing a travel trailer toilet is a 2–3 hour job that most mechanically inclined owners can handle themselves.
This guide covers how to choose the right replacement, remove the old unit without making a mess, install the new one correctly, and what it costs to have a tech do it.
Choosing a Replacement Toilet
Before you buy, you need to know two things: your current toilet’s mounting bolt pattern and the rough-in distance (the measurement from the wall to the center of the toilet flange). Get these measurements before ordering anything.
Toilet Types
Standard gravity-flush (plastic): The most common type in travel trailers. Light, inexpensive ($80–$200), and connects to the standard black tank system. Brands: Thetford, Dometic. Plastic construction means the seat and bowl edges wear and crack over time. Fine for most applications.
Standard gravity-flush (porcelain): Heavier and more expensive ($200–$600), but dramatically better feel and durability. Easier to clean, more residential feel. The weight difference (porcelain adds 15–30 lbs) is rarely a real concern. If you’re replacing a toilet anyway, porcelain is worth considering.
High-profile vs. low-profile: Refers to the toilet height. High-profile is more comfortable for adults; low-profile fits in tight spaces. Measure the available height before choosing — the door swing and the seat lid open position both need clearance.
Composting toilets: No black tank required — solids go into a composting chamber, liquids separate to a divert container. Popular for off-grid camping. Significant installation changes (no flange connection needed, may need venting). Brands: Nature’s Head, Air Head. Not a simple swap — budget 4–6 hours and $900–$1,400 for the unit.
Cassette toilets: Built-in waste cassette that pulls out through an exterior door for emptying — no external sewer connection required. Popular in Class B vans and smaller trailers. Factory-installed in Thetford C-series units. Complicated retrofit if your trailer wasn’t designed for one.
What You Need
- Replacement toilet (confirm bolt pattern and rough-in match)
- Toilet flange seal / wax ring (or a rubber seal for units that use them)
- Adjustable wrench
- Screwdrivers (flathead and Phillips)
- Rubber gloves and old towels or rags
- Sponge or wet/dry vacuum to clear residual water from the toilet and lines
- Plumber’s tape (Teflon) for the water supply connection
Step-by-Step: Removing the Old Toilet
- Turn off the water supply. Either the water pump or the city water inlet.
- Flush the toilet to empty the bowl and tank (if applicable). Flush again with a cup of water to ensure the bowl is as empty as possible.
- Disconnect the water supply line from the bottom of the toilet. Have a towel ready — residual water will drip.
- Remove the floor bolts — most RV toilets have 2 or 4 bolts at the base. These may be under decorative caps that pry off. Unscrew the nuts.
- Lift the toilet straight up and off the flange. Rock it slightly if needed — the flange seal may have stuck. Avoid tilting too much or residual water in the trap will spill.
- Plug the flange opening immediately with a rag — sewer gases will rise from the open black tank and the smell is not subtle.
- Clean the flange — remove old seal material completely. Inspect the flange for cracks — a cracked flange needs repair before installing the new toilet.
Step-by-Step: Installing the New Toilet
- Install the new flange seal. RV toilets typically use a rubber seal rather than a traditional wax ring — confirm which your new unit requires and follow the manufacturer’s instructions. Some rubber seals compress when the toilet is tightened; some adhesive to the flange first.
- Set the new toilet over the flange opening, aligning the bolt holes. Remove the rag plug just before setting the toilet down.
- Press the toilet firmly and evenly onto the seal to compress it.
- Thread on the flange bolts and tighten evenly, alternating sides. Snug is the right amount — overtightening cracks the porcelain base.
- Reconnect the water supply line. Wrap male threads with Teflon tape, then hand-tighten plus 1/4 turn with a wrench.
- Restore water supply and check for leaks at the supply connection.
- Flush several times to confirm proper function and that the base seal isn’t leaking at the floor.
Cost Summary
| Option | Parts Cost | Labor (Pro) | Total |
|---|---|---|---|
| Plastic gravity-flush replacement | $80–$200 | $150–$300 | $230–$500 |
| Porcelain gravity-flush replacement | $200–$600 | $150–$300 | $350–$900 |
| Composting toilet (Nature’s Head, etc.) | $900–$1,400 | $200–$400 | $1,100–$1,800 |
| DIY labor (any type) | Parts only | $0 | Parts only |
Frequently Asked Questions
Can I upgrade from a plastic to a porcelain RV toilet?
Usually yes, as long as the bolt pattern and rough-in distance match. Most standard RV toilet flanges accept both plastic and porcelain units using the same mounting hardware. Confirm measurements before buying.
Do I need to empty the black tank before replacing the toilet?
You don’t need it completely empty, but a tank that’s near full creates more smell and mess when you disconnect the toilet. Empty before starting if possible.
My toilet leaks at the base after installation. What’s wrong?
Usually the flange seal isn’t seated properly or wasn’t compressed fully. Lift the toilet, inspect the seal and flange, and reinstall. Also confirm the toilet base is sitting flat on the floor — an uneven floor can prevent a complete seal.
Bottom line: Travel trailer toilet replacement is a 2–3 hour DIY job. Get your measurements right before you order, plug the flange as soon as you lift the old toilet, don’t overtighten the base bolts, and use Teflon tape on the water supply connection. If you’re replacing anyway, porcelain is worth the upgrade — it’ll outlast two or three plastic units.
Need a plumbing tech for this?
Find a Lab-Vetted mobile tech or RV shop near you who handles RV plumbing and toilet replacement.