RV Air Conditioning Repair Guide: Diagnosis and Fixes (2026)
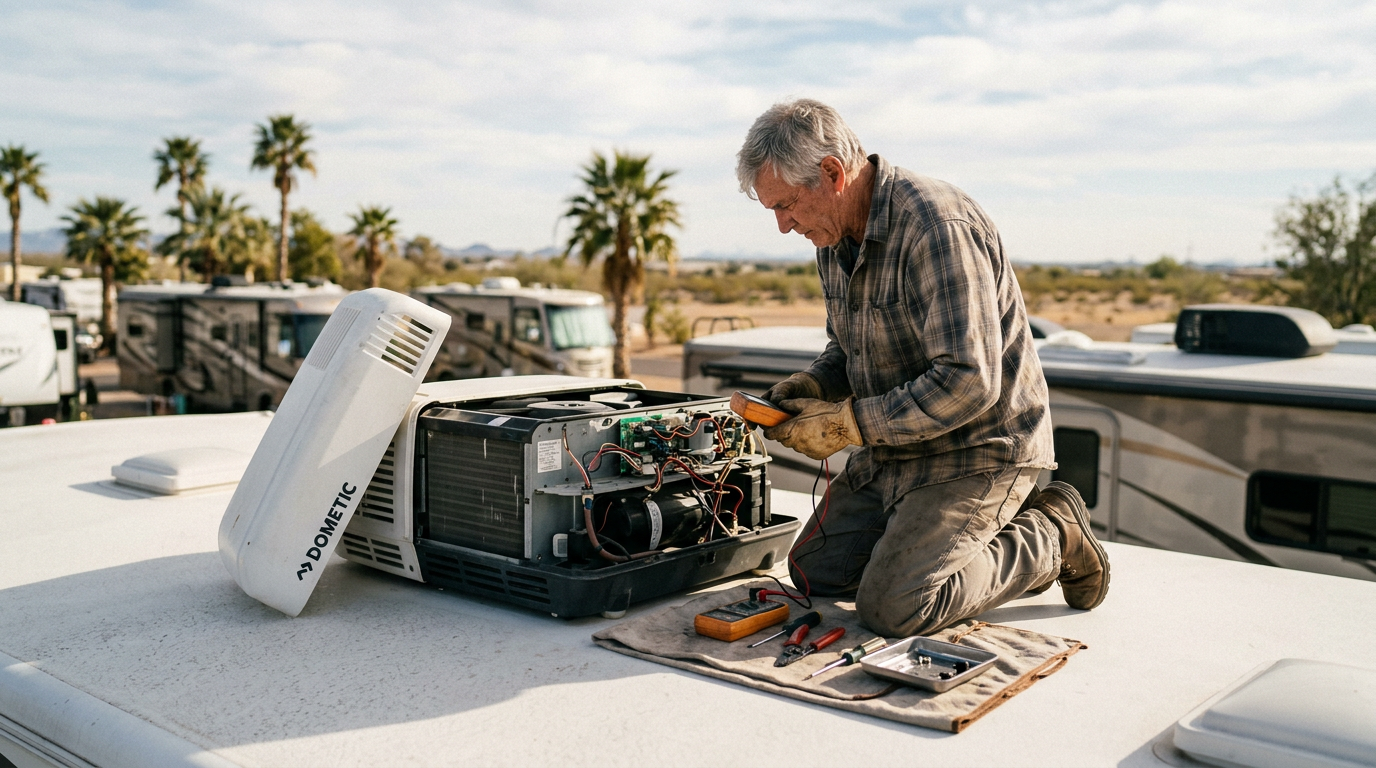
An RV AC that stops cooling in July is not a minor inconvenience. It’s an emergency in the desert Southwest and a serious problem anywhere else. The good news: most RV AC failures fall into a short list of diagnosable causes, and some of them you can fix yourself. The bad news: the ones you can’t fix are expensive.
This guide covers the three main RV AC brands — Coleman-Mach, Dometic, and Advent Air — symptom-by-symptom diagnosis, DIY fixes that work, and a realistic cost guide for repairs you need to hire out.
First: Identify Your Unit
Most RV rooftop AC units are made by one of three manufacturers:
- Coleman-Mach (by Airxcel): The most common unit in travel trailers and fifth wheels. Recognizable by the Coleman name on the shroud. Models: Mach 3, Mach 8, Mach 10, Mach 15. Available in 13,500 BTU and 15,000 BTU configurations.
- Dometic: Common in higher-end travel trailers and motorhomes. Models: Brisk Air II, Penguin II, Blizzard NXT. Generally higher efficiency ratings than Coleman-Mach at comparable BTU.
- Advent Air: OEM unit in many Keystone, Forest River, and Coachmen products. Less commonly stocked at dealers — parts availability is more limited.
The brand name is on the interior ceiling assembly. Model and serial numbers are typically on a sticker accessible by removing the interior ceiling cover.
Symptom-by-Symptom Diagnosis
AC Won’t Turn On at All
- Circuit breaker tripped. RV ACs require 30A or 50A shore power. Check the breaker at the shore power panel and the breaker in the coach 120V breaker box. This is the first check. Always.
- Low shore power voltage. AC units require at least 105V to operate safely — many won’t start below 108V. At campgrounds with heavy loads (hot summer days), voltage can sag. A surge protector with voltage monitoring will show you what you’re actually getting.
- Thermostat issue. Check thermostat settings and battery (if the thermostat has its own battery). Some digital thermostats go blank with a dead battery.
- Start capacitor failure. The start capacitor is an electrolytic capacitor that provides the startup current surge for the compressor motor. They fail with age and heat — a common failure mode in aging AC units. When the capacitor fails, the compressor tries to start, draws high current, trips the breaker, and shuts down. You’ll hear the compressor humming for 1–3 seconds then the breaker trips.
Fan Runs But No Cooling
- Dirty air filter. The most common cause of reduced cooling that owners overlook. Most RV AC ceiling assemblies have a foam or mesh filter that catches dust. A clogged filter restricts airflow across the evaporator coil, dramatically reducing cooling capacity. Check and clean it first.
- Dirty evaporator or condenser coils. The coils on the rooftop unit accumulate dust, cottonwood, and debris over time. Restricted coils can’t transfer heat effectively. On the roof, brush or vacuum the condenser fins carefully with a soft brush — don’t use high-pressure water or you’ll bend the fins.
- Compressor failure. If the compressor doesn’t cycle on (you can usually hear it — it’s a distinct change in sound), and the filter and coils are clean, the compressor may have failed. This is typically an expensive repair — often approaching the cost of replacement.
- Refrigerant leak. RV AC units are sealed refrigerant systems. Leaks happen at the connections or through small cracks in the coil. A system low on refrigerant cools poorly and runs longer. Refrigerant service requires a certified tech and the appropriate equipment.
AC Runs But Trips the Breaker
- Failed start capacitor (see above) — the most common cause
- Weak shore power (low voltage causing high current draw)
- Compressor hard starting — may be a hard start kit fix ($30–$80), which adds capacitance to help the compressor start under low voltage conditions
- Failing compressor drawing excess current
AC Is Freezing Up (Ice on Coils)
- Restricted airflow. The most common cause — dirty filter, blocked return air, closed vents in too many rooms. Ice forms on the evaporator when airflow is insufficient. Turn the AC off, let the ice melt (run the fan only), clean the filter, and restart.
- Running in very humid conditions at low fan speed. High humidity and slow airflow can cause ice formation. Run the fan on high in humid conditions.
- Low refrigerant. Can cause ice formation at the evaporator coil. If the filter is clean and ice persists, refrigerant level is worth checking by a tech.
Loud or Unusual Noises
- Rattling from ceiling assembly: Loose mounting screws or loose ceiling cover. Check all accessible screws and re-tighten.
- Rattling from rooftop unit: Debris in the shroud (leaves, sticks), loose shroud mounting bolts, or loose fan blade. Check the shroud and accessible bolts from the roof.
- Squealing from the fan: Failing fan motor bearing. Fan motors are replaceable ($40–$150) and worth doing before the motor fails completely.
- Banging or knocking from the compressor: Serious — usually indicates a compressor failing mechanically. A tech evaluation is needed.
DIY Fixes Worth Doing
- Clean or replace the air filter — every season, more often in dusty conditions. The filter is inside the ceiling assembly; remove the grille and the filter is right there. Wash foam filters with mild soap and water, let dry, reinstall.
- Install a hard start kit — if your AC is tripping breakers on startup, a hard start capacitor kit ($30–$80) often resolves it. This is a DIY job for anyone comfortable with 120V electrical work — it wires in parallel with the existing capacitor.
- Clean condenser fins from the roof — remove the shroud (usually 4 bolts) and vacuum or brush the fins. Don’t use a pressure washer; bent fins reduce efficiency permanently.
- Tighten loose mounting hardware — the rooftop unit is bolted through the roof with four bolts accessible from inside (typically above the ceiling assembly). These can loosen over time and cause the gasket seal to leak.
Repair and Replacement Cost Guide
| Repair | Parts | Labor | Total |
|---|---|---|---|
| Filter cleaning | $0 | $0 (DIY) | $0 |
| Hard start kit installation | $30–$80 | $80–$150 | $110–$230 |
| Start/run capacitor replacement | $20–$60 | $100–$200 | $120–$260 |
| Fan motor replacement | $40–$150 | $150–$300 | $190–$450 |
| Thermostat replacement | $50–$200 | $100–$200 | $150–$400 |
| Control board replacement | $100–$300 | $150–$300 | $250–$600 |
| Refrigerant service (leak check + recharge) | $50–$150 | $200–$400 | $250–$550 |
| Full AC replacement (13,500 BTU) | $500–$900 | $300–$600 | $800–$1,500 |
| Full AC replacement (15,000 BTU) | $700–$1,200 | $300–$600 | $1,000–$1,800 |
Bottom line: Start with the filter and the breaker — together they account for a significant percentage of “my AC doesn’t work” calls. If those check out and the compressor isn’t cycling, a failed start capacitor is the next likely culprit and a cheap fix. Refrigerant leaks and compressor failures are pro territory. When the repair estimate approaches $600–$800, get a replacement quote — a new unit is often close to the same price and comes with a warranty.
Need an RV AC tech?
Find a Lab-Vetted mobile tech or RV shop near you who services Coleman-Mach, Dometic, and Advent Air RV air conditioners.