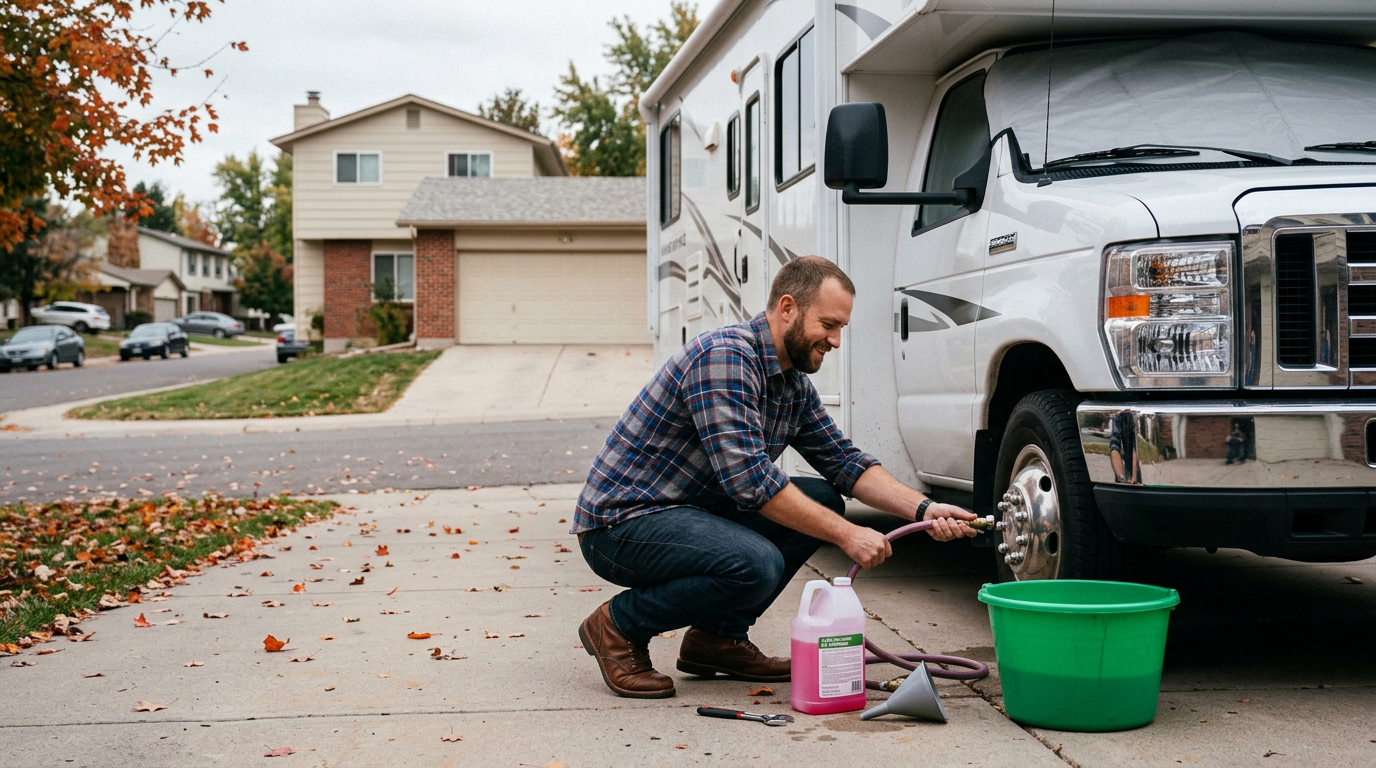
How to Winterize an RV
A split water line from a single freeze event runs $150–$400 to repair at a shop — and that’s if it’s a straightforward fitting. Forget to bypass the water heater and you’re also looking at a cracked tank. Winterizing an RV takes under two hours with the right steps, and everything in this guide reflects what a shop tech actually does, not what a manufacturer manual glosses over.
When to Winterize Your RV
The trigger isn’t a calendar date — it’s overnight temperature. Winterize when your forecast shows overnight lows hitting 32°F or below. Water in an exposed RV line freezes faster than water in a well-insulated house pipe because there’s less thermal mass and more surface area exposed to outside air.
Regional timing as a rough guide: mountain states and northern tier (Minnesota, Montana, northern New England) typically need winterization by late September to mid-October. Most of the Midwest and mid-Atlantic, late October through early November. Mild climates (Pacific Northwest lowlands, Southeast) may not need full plumbing winterization at all — but battery and rodent prevention steps apply everywhere.
→ What freeze damage actually costs to repair — RV Repair Lab
What You’ll Need
Antifreeze method:
- RV antifreeze — non-toxic propylene glycol only, never automotive antifreeze ($8–$15/gallon). Small travel trailer: 2 gallons. Large fifth wheel or Class A: 3–4 gallons. Buy one extra jug as a buffer.
- Water pump converter kit or hand pump ($10–$20)
- Bucket and towels
- Basic hand tools for drain plugs (usually a socket wrench)
Blow-out method (alternative):
- Air compressor capable of 30–50 PSI
- RV blowout plug adapter ($10–$20)
- 1 gallon of RV antifreeze still needed for P-traps
→ Full RV repair cost database at RV Repair Lab
Antifreeze Method vs. Blow-Out Method: Choose First
The antifreeze method pumps non-toxic RV antifreeze through your entire water system, displacing any remaining water and protecting every line, fitting, and P-trap in the process. It works on every rig type, requires no special equipment beyond the converter kit, and leaves no gaps. The trade-off: pink antifreeze residue in the lines that needs to be flushed out in spring.
The blow-out method uses compressed air at 30–50 PSI to force water out of the lines through the open fixtures. It’s faster and leaves no residue, which makes it popular for rigs that see shoulder-season use. The hard limit: do not exceed 50 PSI. Over-pressurizing blows out fittings, valve seats, and pump diaphragms — damage that costs more to fix than freeze damage. The other limit: blow-out does not protect P-traps. Standing water in P-traps will freeze regardless of what you blow through the lines. You must follow the blow-out with an antifreeze pour into every drain.
If this is your first winterization or you’re uncertain about your rig’s plumbing layout, use the antifreeze method. It’s more forgiving.
→ What RV Repairs Should Cost in 2026
How to Winterize Your RV: Step-by-Step
Step 1: Dump and Flush the Holding Tanks
Connect to a dump station and empty the black tank first, then the gray tank. If your rig has a built-in tank flush, run it on the black tank for 2–3 minutes before dumping. Run the gray tank last — it rinses out the sewer hose with soapy water.
Common mistake: Skipping the flush and leaving waste residue in the black tank over winter. Frozen waste is significantly harder to clear in spring and can crack the tank walls.
Step 2: Drain the Water Heater
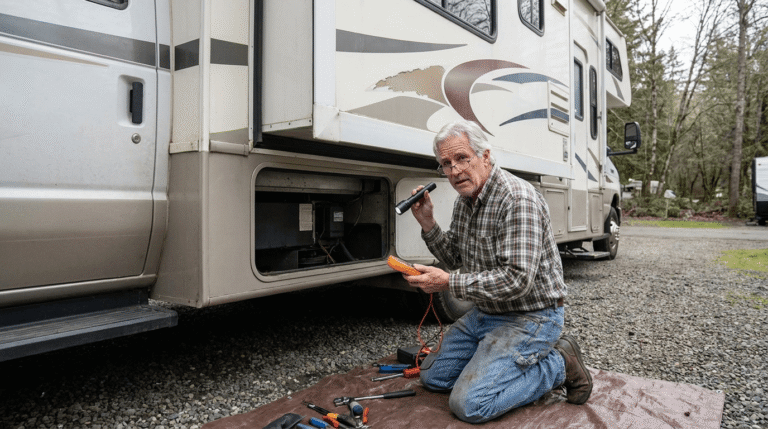
Turn the water heater off and let it cool completely — never drain a hot water heater. Remove the anode rod or drain plug (usually a 1-1/16″ socket on the exterior panel) and let the tank drain fully. Reinstall the plug finger-tight to avoid losing it.
Common mistake: Bypassing the water heater without draining it first. The bypass prevents antifreeze from entering the tank, but standing water left in an unbypassed, unbyassed tank will freeze and crack it.
Step 3: Bypass the Water Heater
Install the bypass kit if your rig doesn’t have one factory-installed, or turn the bypass valves to the bypass position. The bypass routes water directly from the cold inlet to the hot outlet, cutting the water heater out of the circuit entirely. This is the step that prevents you from filling your 6–10 gallon water heater tank with antifreeze.
Common mistake: Skipping the bypass and wondering why you went through 4 gallons of antifreeze on a rig that should need 2. The water heater tank absorbs the antifreeze without protecting any actual plumbing.
Step 4: Drain the Freshwater Tank and Low-Point Drains
Open the freshwater tank drain (usually a petcock valve on the underside of the rig) and let it drain fully. Then open the low-point drain valves — typically two red/blue valves on the exterior toward the lowest point of the plumbing. Turn on the water pump briefly to push out any remaining water from the lines into the low-point drains.
Common mistake: Skipping the low-point drains. Water sits in the lowest section of your plumbing regardless of what you run through the lines from above — the low-point drains are how you get it out.
Step 5: Connect the Antifreeze Pump
Disconnect the water pump’s inlet line from the freshwater tank and connect the pump converter kit. Place the intake tube into your first gallon of RV antifreeze. Confirm the water heater bypass is in the bypass position and all low-point drains are closed before starting the pump.
Common mistake: Running the pump dry before connecting the intake tube. A few seconds of dry-running won’t destroy a pump, but it’s unnecessary wear and you’ll hear it clearly.
Step 6: Run Antifreeze Through All Fixtures
Turn on the water pump and work through every fixture one at a time — hot then cold at each. Start at the fixture closest to the pump and work toward the farthest. Kitchen faucet (hot, then cold), bathroom faucet (hot, then cold), shower (hot, then cold), then the toilet. Run each until you see consistent pink antifreeze, not just a flash of it. Don’t forget the outdoor shower if your rig has one.
Common mistake: Stopping as soon as you see pink at one fixture. You’re confirming antifreeze has reached that point — you still need to work through every other fixture to confirm coverage throughout the system.
Step 7: Pour Antifreeze Into All P-Traps
Pour approximately 1–2 oz of RV antifreeze directly into every drain — kitchen sink, bathroom sink, shower drain, and toilet bowl. P-traps hold standing water by design (that’s what creates the seal against sewer gases), and that water will freeze even after the rest of the lines are clear.
This step is required even if you used the blow-out method. Compressed air cannot remove standing water from P-traps. Skipping this is the most common cause of freeze damage in rigs that were “winterized.”
Step 8: Winterize Remaining Water-Connected Appliances
Check your rig for any appliances with water connections that aren’t part of the main plumbing loop. Icemaker: disconnect and drain the water supply line. Washer/dryer combo: run RV antifreeze through a short cycle to clear the pump and lines. Water filter: remove the filter cartridge and store it indoors — leaving it in place in a freezing environment cracks the housing.
Common mistake: Forgetting the icemaker supply line. It’s a thin line running to an out-of-the-way location, and a split icemaker line is a $150+ repair that’s entirely preventable.
Winterizing Other RV Systems
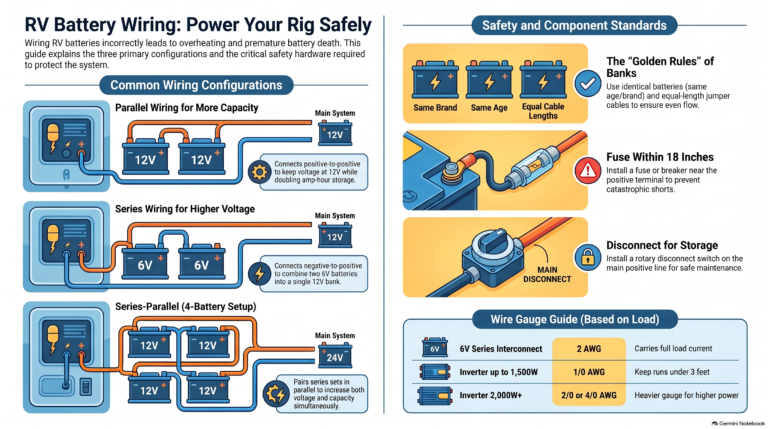
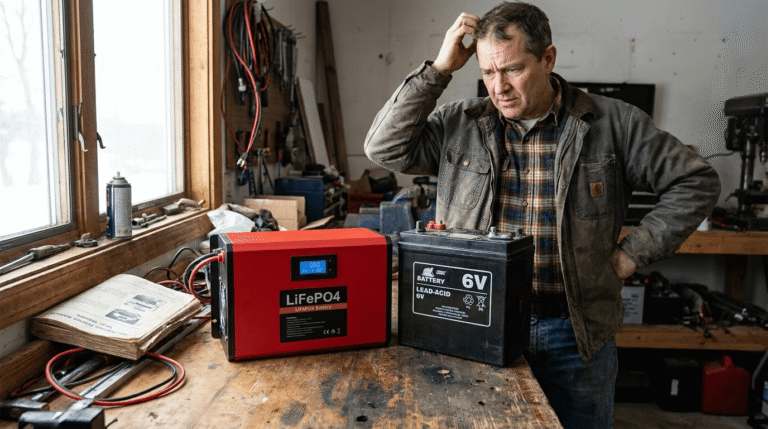
Battery: A battery left connected and unmonitored through winter self-discharges and can freeze if it drops below roughly 50% charge. Either disconnect the battery and store it somewhere that stays above freezing, or connect it to a quality trickle charger (not a standard battery charger) that maintains it at full charge. Check electrolyte levels on flooded lead-acid batteries before storage.
Tires: Inflate to the maximum sidewall PSI for storage — not your normal operating pressure. Tires left underinflated develop flat spots under the rig’s weight over a long winter. If the rig is stored outdoors, use UV-resistant tire covers. Cold weather contracts rubber; don’t expect the pressure to hold perfectly and check it again in spring before moving.
Roof: Walk the roof before winter and inspect the sealant around every penetration — AC shroud, vents, antennas, skylights. Winter moisture is unforgiving to a hairline crack that would be fine in summer. A $15 tube of self-leveling sealant applied now beats a $1,500 water damage repair in spring.
Rodents: Steel wool stuffed into any gap larger than a dime is the most effective passive deterrent. Mice can compress their bodies through a hole the size of a dime, and they will find every unsealed gap in a parked rig. Remove all food including canned goods — mice chew through cans. Set snap traps inside the rig and check them in early spring.
→ RV Roof Replacement Cost: What Water Damage Actually Runs
DIY vs. Professional RV Winterization Cost
DIY antifreeze winterization runs $16–$60 in materials depending on rig size — 2 gallons of RV antifreeze at $8–$15 each for a small travel trailer, up to 4 gallons for a large Class A. Add $10–$20 for a pump converter kit if you don’t have one. That’s the total cost for a competent DIY job.
Professional winterization at an RV shop runs $75–$150 for basic water system service. Full-service winterization — including battery check, tire inspection, roof seal inspection, and rodent prevention — typically runs $150–$300 depending on rig size and shop rates.
The shop is worth it if this is your first winterization and you’re not confident in your rig’s plumbing layout, if you have a complex Class A with multiple slide-outs and water connections throughout, or if your manufacturer’s warranty specifies professional winterization. For everyone else, the DIY job done correctly is the same outcome at a fraction of the cost.
→ Full RV repair cost database at RV Repair Lab
Common Winterization Mistakes
Using automotive antifreeze instead of RV antifreeze. Automotive antifreeze (ethylene glycol) is toxic to humans and pets and degrades the rubber seals in RV plumbing. RV antifreeze is propylene glycol — non-toxic and safe for drinking water systems. The jugs look similar at a hardware store. Read the label.
Skipping the water heater bypass. Without the bypass, you’re pumping antifreeze into a 6–10 gallon tank that’s completely outside the plumbing loop you’re trying to protect. You’ll go through 3–4 extra gallons of antifreeze and the actual lines won’t be any better protected.
Exceeding 50 PSI with the blow-out method. RV water fittings, valve seats, and pump diaphragms aren’t rated for high compressor pressures. Set your compressor to 30–50 PSI maximum and open one fixture at a time. More pressure does not mean more water removed.
Assuming blow-out covers P-traps. It doesn’t. Air flows through the path of least resistance — it won’t pull standing water up and out of a P-trap. Pour antifreeze into every drain after any blow-out procedure.
Forgetting the icemaker and washing machine. These appliances have water lines and pumps that hold standing water in locations that aren’t on your mental map of the plumbing system. Walk through every water-connected appliance before calling the job done.
→ What freeze damage repairs cost — RV Repair Lab invoice data
Frequently Asked Questions
How many gallons of antifreeze does an RV need?
Small travel trailers typically need 2 gallons. Larger fifth wheels, Class A, and Class C motorhomes with longer plumbing runs typically need 3–4 gallons. Buy one extra jug beyond what you expect to use — running out mid-process and having to stop to get more is a common frustration. Unused RV antifreeze stores indefinitely.
→ RV repair cost database at RV Repair Lab
Can I winterize my RV without antifreeze?
Yes, using the blow-out method — but you must still pour RV antifreeze into every P-trap afterward. A fully antifreeze-free winterization is only reliably safe if your rig is stored in a heated facility that stays above freezing all winter. If overnight temps anywhere in the storage location drop below 32°F, use antifreeze.
→ What RV Repairs Should Cost in 2026
How much does it cost to winterize an RV at a shop?
Basic water system winterization at a shop runs $75–$150. Full-service winterization that also covers battery, tires, roof inspection, and rodent prevention runs $150–$300 depending on rig size and shop rates. DIY antifreeze materials cost $16–$60 for most rigs.
→ Full RV repair cost database at RV Repair Lab
When should I winterize my RV?
When overnight temperatures in your area are forecast to reach 32°F or below — not based on the calendar. Mountain states and the northern US typically need winterization by late September to mid-October. Most of the Midwest and mid-Atlantic: late October through early November. Don’t wait for the first hard freeze; winterize before it happens.
→ What RV Repairs Should Cost in 2026
Do I need to winterize if my RV is stored in a heated facility?
If the storage facility maintains temperatures above 32°F all winter, you can skip the plumbing winterization. Confirm the minimum temperature guarantee from the facility before skipping — “heated storage” can mean anything from 60°F to barely above freezing. Battery maintenance and rodent prevention steps apply regardless of storage temperature.
→ RV cost data archive at RV Repair Lab
Steps and cost ranges based on standard RV service procedures and 2026 shop rate data. Plumbing configurations vary by rig — consult your owner’s manual for manufacturer-specific drain locations and bypass valve positions.