
Motorhome Pre-Purchase Inspection Checklist: 70-Point Guide (2026)
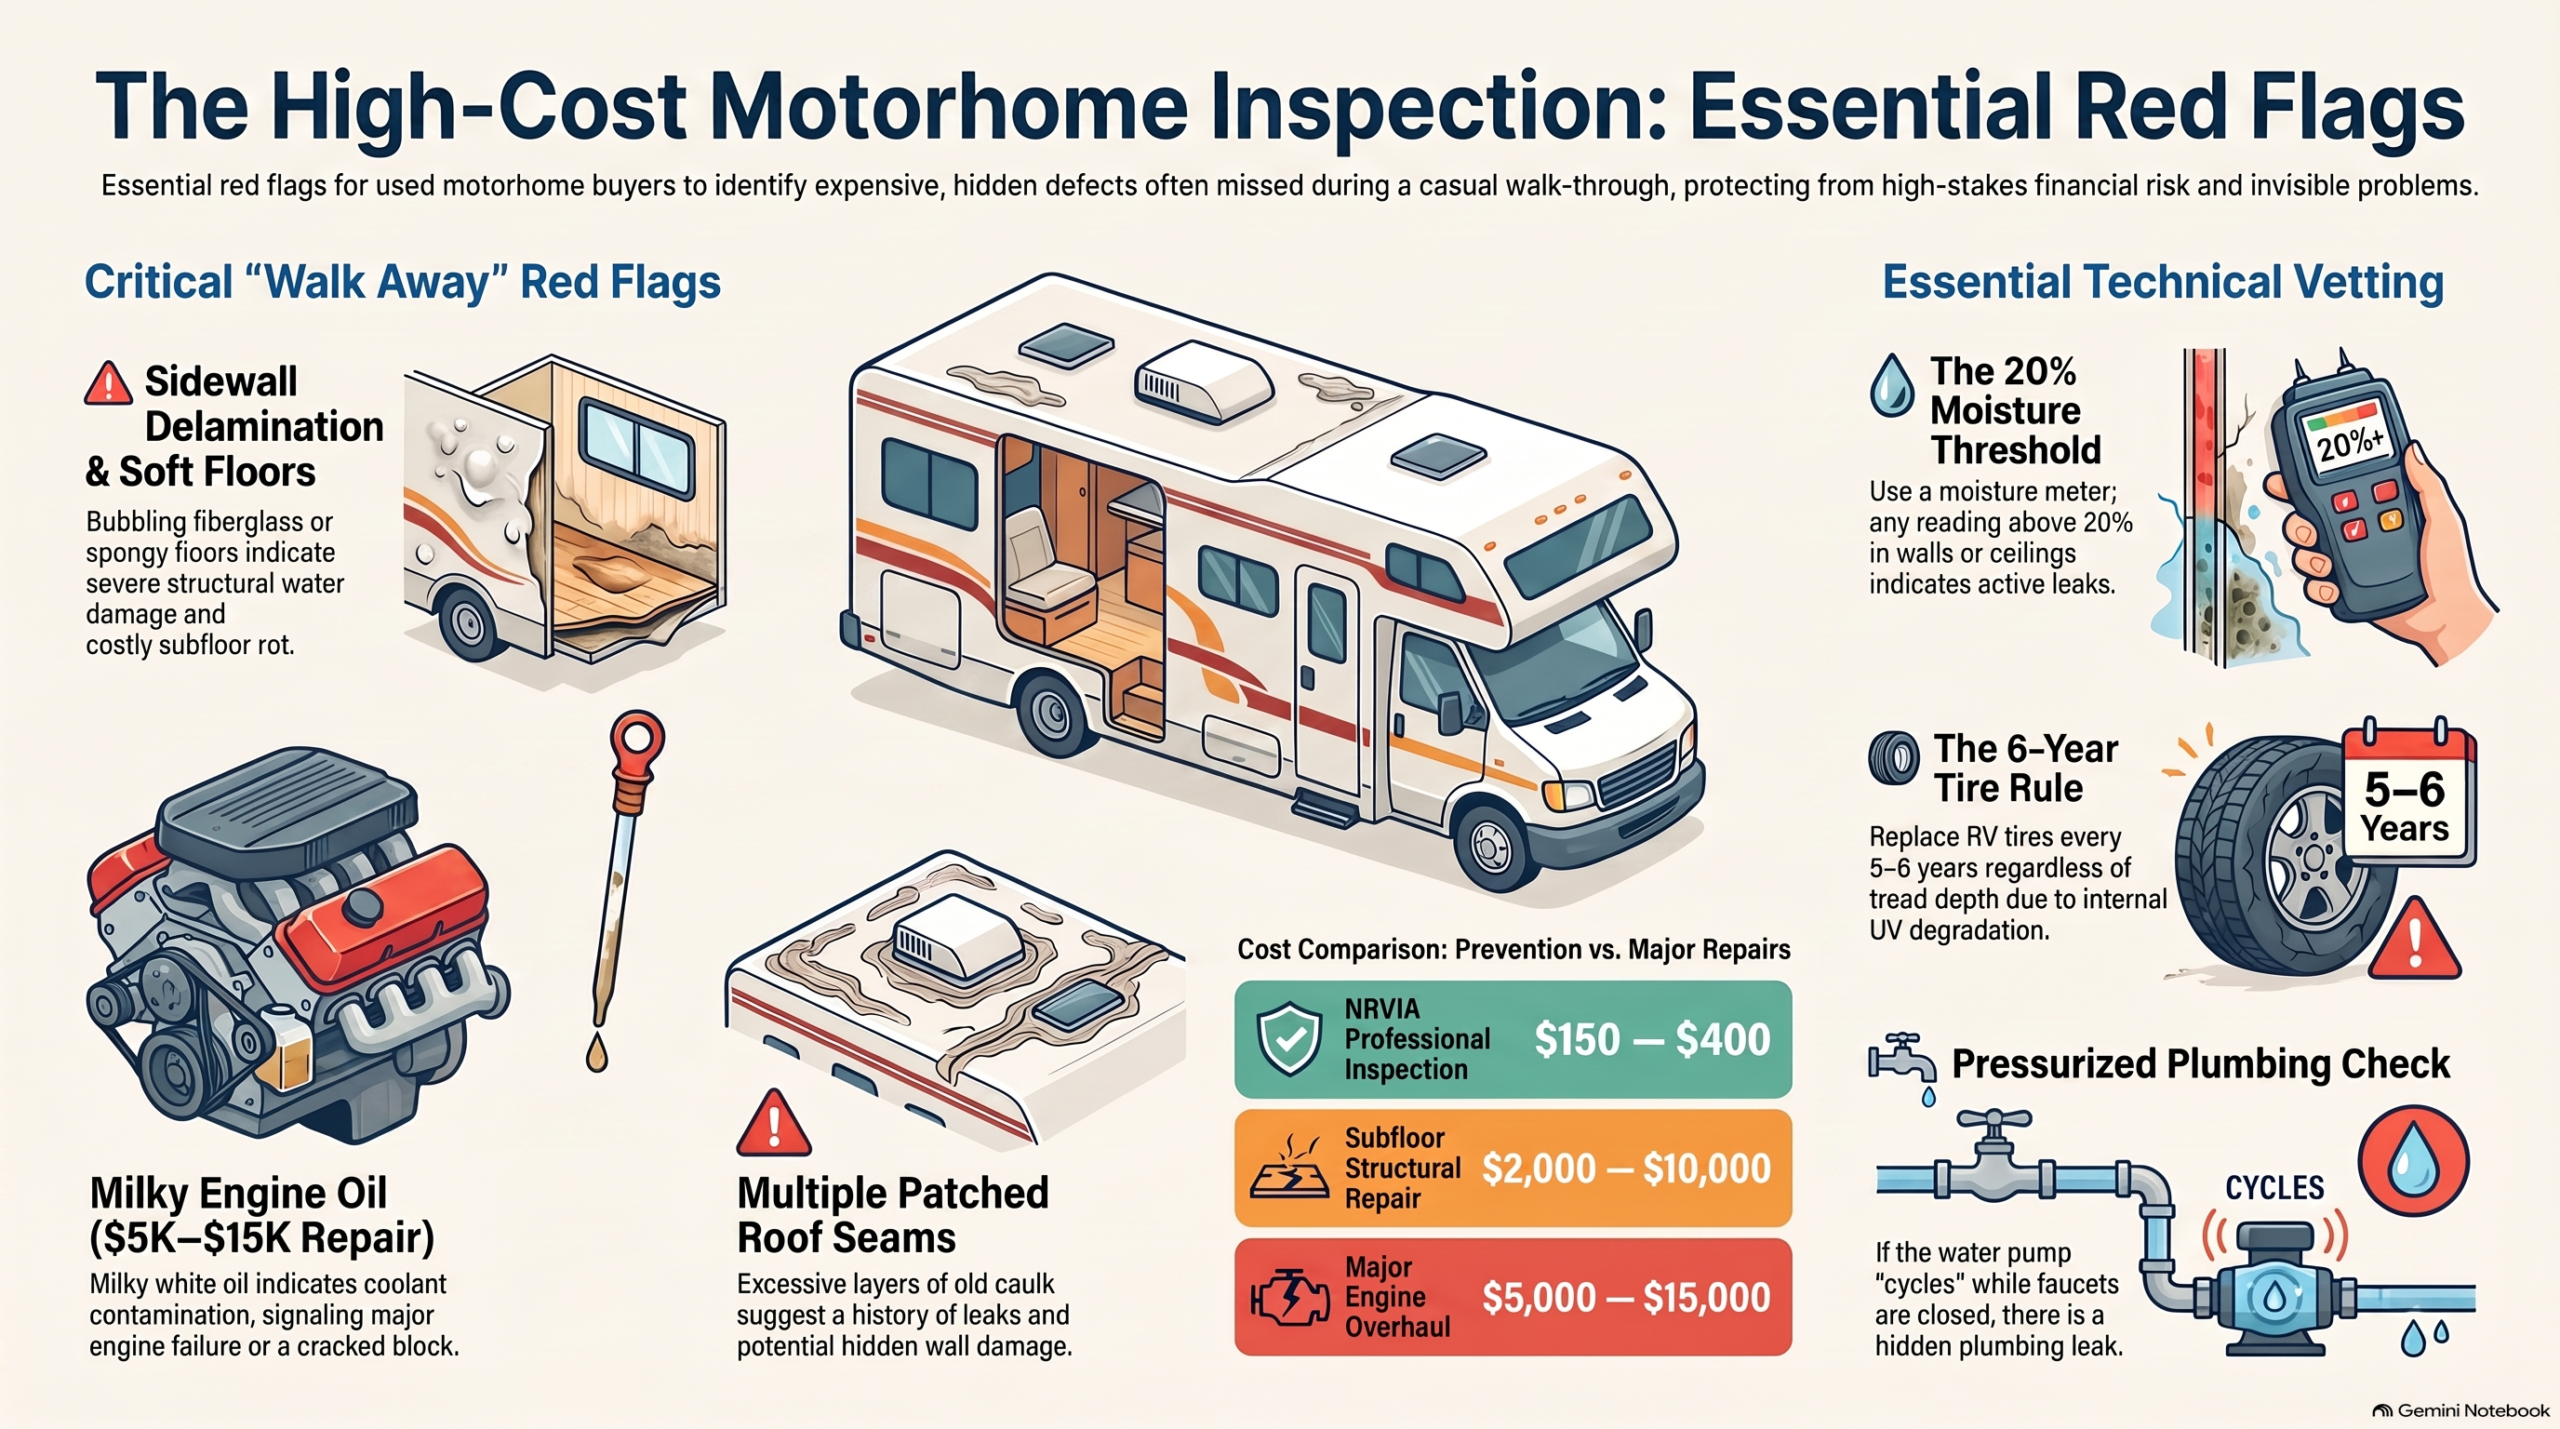
Buying a used motorhome without a proper inspection is one of the most expensive mistakes you can make in RV ownership. The problems that matter — roof delamination, frame rust, water damage behind the walls, a cracked block — don’t show up on a walk-through. You have to know where to look.
This checklist covers the 70+ inspection points that matter, in the order you should check them. It applies to Class A gas and diesel, Class B vans, and Class C motorhomes. Bring it to every showing — dealer or private party.
Before You Look at Anything Inside
Start outside. Walk the perimeter. Most experienced RV buyers can determine within the first five minutes whether a rig is worth their time. The exterior tells you about maintenance habits, storage conditions, and water intrusion — the three things that define long-term reliability.
Exterior Inspection
Roof
Get up there. Every time. A ladder is worth carrying to showings. Check:
- Roof membrane condition — cracks, seam separation, bubbling, or soft spots
- All seams around vents, AC units, antennas, and skylights — look for old caulk that’s lifted, cracked, or been repaired
- Slide-out toppers — torn fabric holds water and damages the slide roof
- Any standing water areas or evidence of pooling (discoloration)
Sidewalls and Body
- Delamination — press gently on the sidewalls and look for wavy, soft, or bubbling sections. Delaminated fiberglass means water got between the substrate and skin and will continue spreading.
- Body damage repairs — look for mismatched paint, overspray on trim, or filler lines
- Compartment door seals — do they compress and seal properly? Missing or deteriorated?
- Slide-out seals — inspect all four sides of every slide for cracking, tearing, or pulling away
- Entry door seal — close the door and check for daylight around the perimeter
Undercarriage (Class A and C)
- Frame rust — surface rust is cosmetic, structural rust is not. Bring a screwdriver and probe areas that look suspicious
- Underbelly condition — tears, sagging, or evidence of water accumulation
- Holding tank condition — visible cracks, patch repairs, or hanging lower than it should
- Fresh water tank — same check
Tires and Wheels
- Check manufacture date on the tire sidewall (XXXXXX format, last 4 digits are week and year of manufacture). RV tires over 5–6 years old are typically replacement candidates regardless of tread depth — UV degradation affects the internal structure.
- Sidewall cracking — spiderweb cracking (crazing) indicates UV degradation
- Even tread wear across all tires
- Wheel lug torque — ask when it was last checked
Engine and Chassis (Class A Gas/Diesel, Class C)
- Check all fluid levels: engine oil, transmission fluid, coolant, power steering, brake fluid
- Oil condition — dark brown/black is normal; milky white indicates coolant contamination (serious)
- Coolant color — should be clean (green, orange, or blue/purple depending on type). Brown or murky is a red flag.
- Cold-start the engine. Listen for: knocking, ticking valvetrain noise, blue smoke (oil burning), white smoke (coolant), black smoke (rich fuel mixture on diesel)
- Engine oil leaks visible from underneath or on the engine bay floor
- Generator: start it and run it under load. Listen for rough running, note hours on the Hobbs meter.
- Chassis service records — oil changes, transmission fluid changes, brake service
Water and Moisture Inspection
Water damage is the most common serious problem in used RVs and the most expensive to fix. Use a moisture meter ($20–$50, worth buying for this purpose) and check everywhere water could enter.
- Corners of all windows — inside the frame, not just the sill
- Ceiling around roof vents and AC units
- All four corners of slide-out openings — top corners especially
- Cabinets above and below all windows
- Floor around the toilet and shower — soft or spongy floor is subfloor rot
- Walls adjacent to the shower
- Storage compartment walls — especially lower ones near the roofline
- Under the master bed if the bedroom is at the rear
Soft floor is never normal. A moisture meter reading above 20% in wall or ceiling material indicates active or prior moisture intrusion. Ask what was done to fix it and whether the source was properly addressed.
Interior Systems Checklist
Electrical
- Test every 120V outlet with a plug-in tester ($10)
- Test all 12V lighting and accessories with the coach batteries
- Shore power connection — inspect the cord and plug for burn marks or corrosion
- Inverter/converter — test that it charges the coach batteries and powers 120V loads
- Solar (if equipped) — verify charge controller is reading panel output
- Coach battery condition — check voltage (should be 12.6V+ when fully charged) and look for corrosion on terminals
Propane and Appliances
- Light every propane appliance: stove burners (all of them), oven, water heater on propane mode, furnace
- Furnace: turn it on and wait for the blower to come on and heat to flow — this takes 30–60 seconds. Listen for the ignition sequence and confirm heat output.
- Refrigerator: run on both 120V and propane mode. Confirm cooling on both.
- Propane detector — press test button to confirm it’s operational
- LP tank condition — check OPD valve, look for rust on the tank
Plumbing
- Run the fresh water pump — it should come up to pressure and hold without cycling (cycling after shutting off a faucet indicates a leak)
- Check all faucets, the shower, and outside shower for flow and drainage
- Flush the toilet — does the blade seal hold water between flushes?
- Gray tank dump valve — open and close. Does it move freely?
- Black tank dump valve — same check
- City water connection — look for cracks or corrosion
Slide-Outs
- Extend and retract every slide fully — watch for uneven movement, binding, or grinding
- Check floor level when extended — should be flush or slightly sloped toward the exterior
- Seal condition — inspect all four sides, inside and out
- No light gaps visible between the slide room and the body when retracted
Air Conditioning
- Run all AC units for at least 10 minutes — confirm cold air from all registers
- Listen for unusual noises from the rooftop units
- Check filter condition from inside (accessible via a panel in the ceiling)
Red Flags That Should Affect Your Offer or Walk You Away
- Soft floor anywhere. Subfloor replacement is a major structural repair — $2,000–$10,000 depending on extent.
- Sidewall delamination. Often not economically repairable. Affects resale significantly.
- Multiple patched roof seams. Prior leaks that may have caused hidden damage.
- Milky engine oil. Head gasket or worse — potentially a $5,000–$15,000 repair on a motorhome engine.
- Seller won’t let you use a moisture meter or discourages checking certain areas. Walk away.
- No maintenance records at all. Not necessarily a dealbreaker, but priced accordingly.
The Professional Inspection Option
A professional pre-purchase inspection by a qualified RV tech runs $150–$400 depending on rig size and location. For any motorhome over $30,000, it’s worth every dollar — an inspector may find $5,000 in problems you’d otherwise discover the hard way after signing.
What to look for in an inspector: NRVIA certification (National RV Inspectors Association) is the recognized credential. Make sure they have diesel engine experience if you’re buying a diesel pusher.
Bottom line: A thorough motorhome inspection takes 2–3 hours. Use a moisture meter, get on the roof, cold-start the engine, and operate every system. The problems that cost the most to fix — water damage, delamination, engine issues — are exactly the ones that don’t announce themselves on a casual walk-through. Hire an NRVIA inspector for any motorhome purchase over $30K.
Need repairs found during an inspection?
Find a Lab-Vetted RV repair shop or mobile tech near you to get a repair estimate before you close the deal.