RV Black Tank Maintenance Guide: Keep It Clean and Sensor-Accurate
The black tank is the one system most RV owners hope to never think about. The irony is that the less attention it gets, the more attention it demands. An unmaintained black tank produces inaccurate sensors, persistent odor, and eventually a clog or backup that makes the whole problem very difficult to ignore.
This guide covers proper black tank operation from the start, the maintenance that actually works, how to fix the two most common problems (stuck sensors and persistent odor), and seasonal care.
The Most Important Habit: The Valve
Everything else about black tank maintenance is downstream (literally) of one habit: keep the black tank valve closed until the tank is 2/3 to 3/4 full.
This is the one rule most RV owners violate. When you plug into a full hookup site and open the black tank valve “to let it drain continuously,” liquids drain while solids accumulate into a cone-shaped pile directly under the toilet opening — the infamous pyramid plug. The only way the black tank system works correctly is with enough liquid volume to break down and suspend solids.
Correct procedure: keep the valve closed while camping. Dump when 2/3–3/4 full. Rinse. Close the valve. Start the next cycle.
Before Your First Use (Each Trip)
- Add 2–3 gallons of water to the tank through the toilet before the first use. This prevents waste from drying to the tank floor before liquids accumulate.
- Add your tank treatment product. More on which products work below.
Tank Treatment Products: What Works
Enzyme-Based Treatments
The best category for ongoing maintenance. Enzyme and bacterial formulations actually break down waste and toilet paper rather than just masking odor. Brands: Unique RV Digest-It, Happy Campers, Walex Porta-Pak Bio-Active.
Unique RV Digest-It is the most consistently recommended product in full-timer and boondocker communities — it handles odor control and waste breakdown in one product and works better in warm conditions. In cold temperatures (below 50°F), add extra doses since bacterial activity slows with temperature. Check price on Amazon
Happy Campers is a mineral-based odor neutralizer (not bacterial/enzyme) that performs well in all temperatures including cold. Recommended by many winter campers who find enzyme products underperform in cold tanks. Check price on Amazon
What to Avoid
- Bleach. Kills the bacteria needed for breakdown, damages seals, and makes odor worse long-term.
- Formaldehyde-based products. The old-school blue chemical (Thetford Aqua-Kem original and similar) contains formaldehyde. Banned at many campgrounds for environmental reasons, kills beneficial bacteria, and is increasingly hard to dispose of legally. Move to enzyme-based products.
- Antibacterial hand soap or dish soap in large quantities. These kill the bacteria you want in the tank.
The Right Dump Procedure
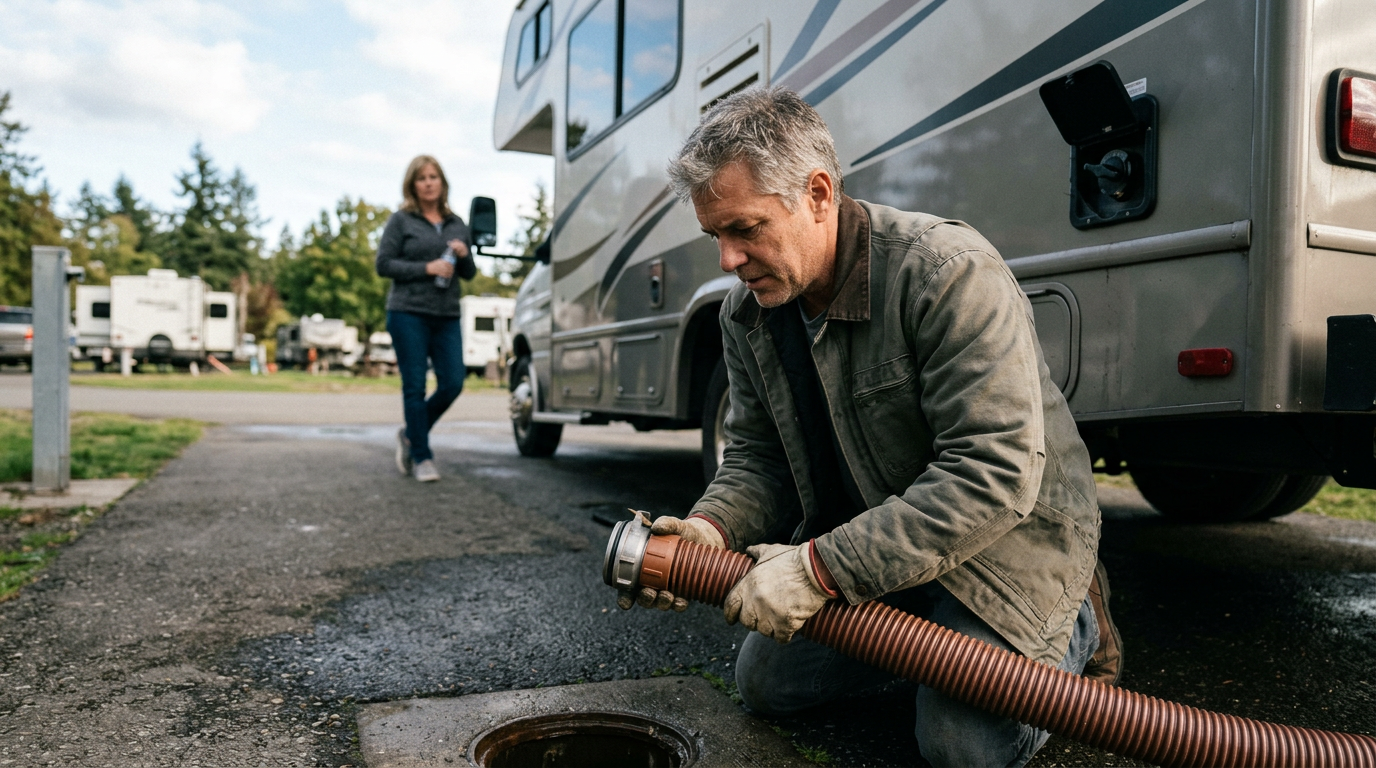
- Connect your sewer hose to the dump station inlet first
- Open the black tank valve first, let it drain completely
- Close the black tank valve
- Open the gray tank valve next — the gray water rinses the sewer hose
- Close gray, disconnect hose
Always dump black before gray. Gray water is relatively clean and serves to flush the hose after black tank dumping.
Black Tank Rinsing
Rinsing the black tank after every dump keeps sensors accurate and prevents buildup. Three methods:
Built-In Tank Rinse System
Many RVs come with a built-in black tank flush inlet (usually a separate port near the black tank valve, labeled). Connect a dedicated hose (not your drinking water hose) to this port, open the black tank valve at the dump station, and let water spray into the tank for 10–15 minutes until it runs clear.
Wand Rinse (No Built-In System)
A flexible tank rinser wand ($20–$40) feeds through the toilet to spray the tank interior. Less effective than a built-in system but much better than no rinsing.
Ice and Water Method (Sensor Cleaning)
Drive a bag of ice (10–20 lbs) through the toilet into the tank, add 2–3 gallons of water, and drive to your dump station. The ice agitates the tank contents as it melts, scrubbing the tank walls and sensor probes. Effective for sensor restoration when nothing else works.
Fixing Stuck Sensors
The most common black tank complaint: sensors that read “full” when the tank isn’t, or won’t read at all. This is almost always a coating problem — waste, toilet paper, and mineral deposits coat the sensor probes and the reading is unreliable.
The GEO Method: Add 1 cup of water softener (Calgon or similar) plus 1 tablespoon of dish soap (plain, not antibacterial) to the tank along with 3–4 gallons of water. Drive 20–30 minutes, dump, and rinse. The water softener breaks mineral deposits; the dish soap cleans organic coating. Repeat if needed. This is the most widely recommended DIY solution and works for the majority of sensor problems.
If sensors remain stuck after 2–3 GEO Method cycles, the probes themselves may be damaged or coated beyond recovery. Replacement sensors are available from the tank manufacturer ($20–$80 for the sensor kit) but require drilling into the tank — usually a pro job.
Persistent Odor: Causes and Fixes
- Vent pipe blocked. The most common cause of odor inside the RV. A blocked vent doesn’t allow gases to escape through the roof — they come back up through the toilet blade seal instead. Clear the vent from the rooftop (see our unclogging guide).
- Toilet blade seal not seating properly. If the seal is worn or damaged, tank gases pass through it. Run your hand near the toilet base — odor from this point confirms it. Blade seal kits are $10–$25 for most toilets.
- Valve left open. Open black tank valve at a full hookup site = continuous gas pathway into the RV. Close the valve.
- Tank needs a thorough treatment cycle. A tank that’s been improperly managed for a season may need 2–3 treatment and flush cycles to restore normal odor control.
Seasonal Care
Before storage (winterization):
- Dump and rinse the black tank thoroughly before storage
- Leave a small amount of RV antifreeze in the tank to protect the valve and fittings from freeze damage
- Leave the valve in the closed position during storage
Spring startup:
- Flush antifreeze from the tank before use
- Run a treatment cycle before the first trip
- Check that the tank rinse port (if equipped) hasn’t cracked over winter
Bottom line: Black tank maintenance comes down to two things: keep the valve closed until it’s time to dump, and use enough water and the right treatment product. Follow those two rules and most problems never happen. Stuck sensors fix with the GEO Method. Persistent odor is almost always the vent, the blade seal, or an open valve. None of these are complex — they just require the right information.
Black tank or plumbing problems beyond DIY?
Find a Lab-Vetted mobile tech near you who handles RV plumbing, tank systems, and sensor issues.