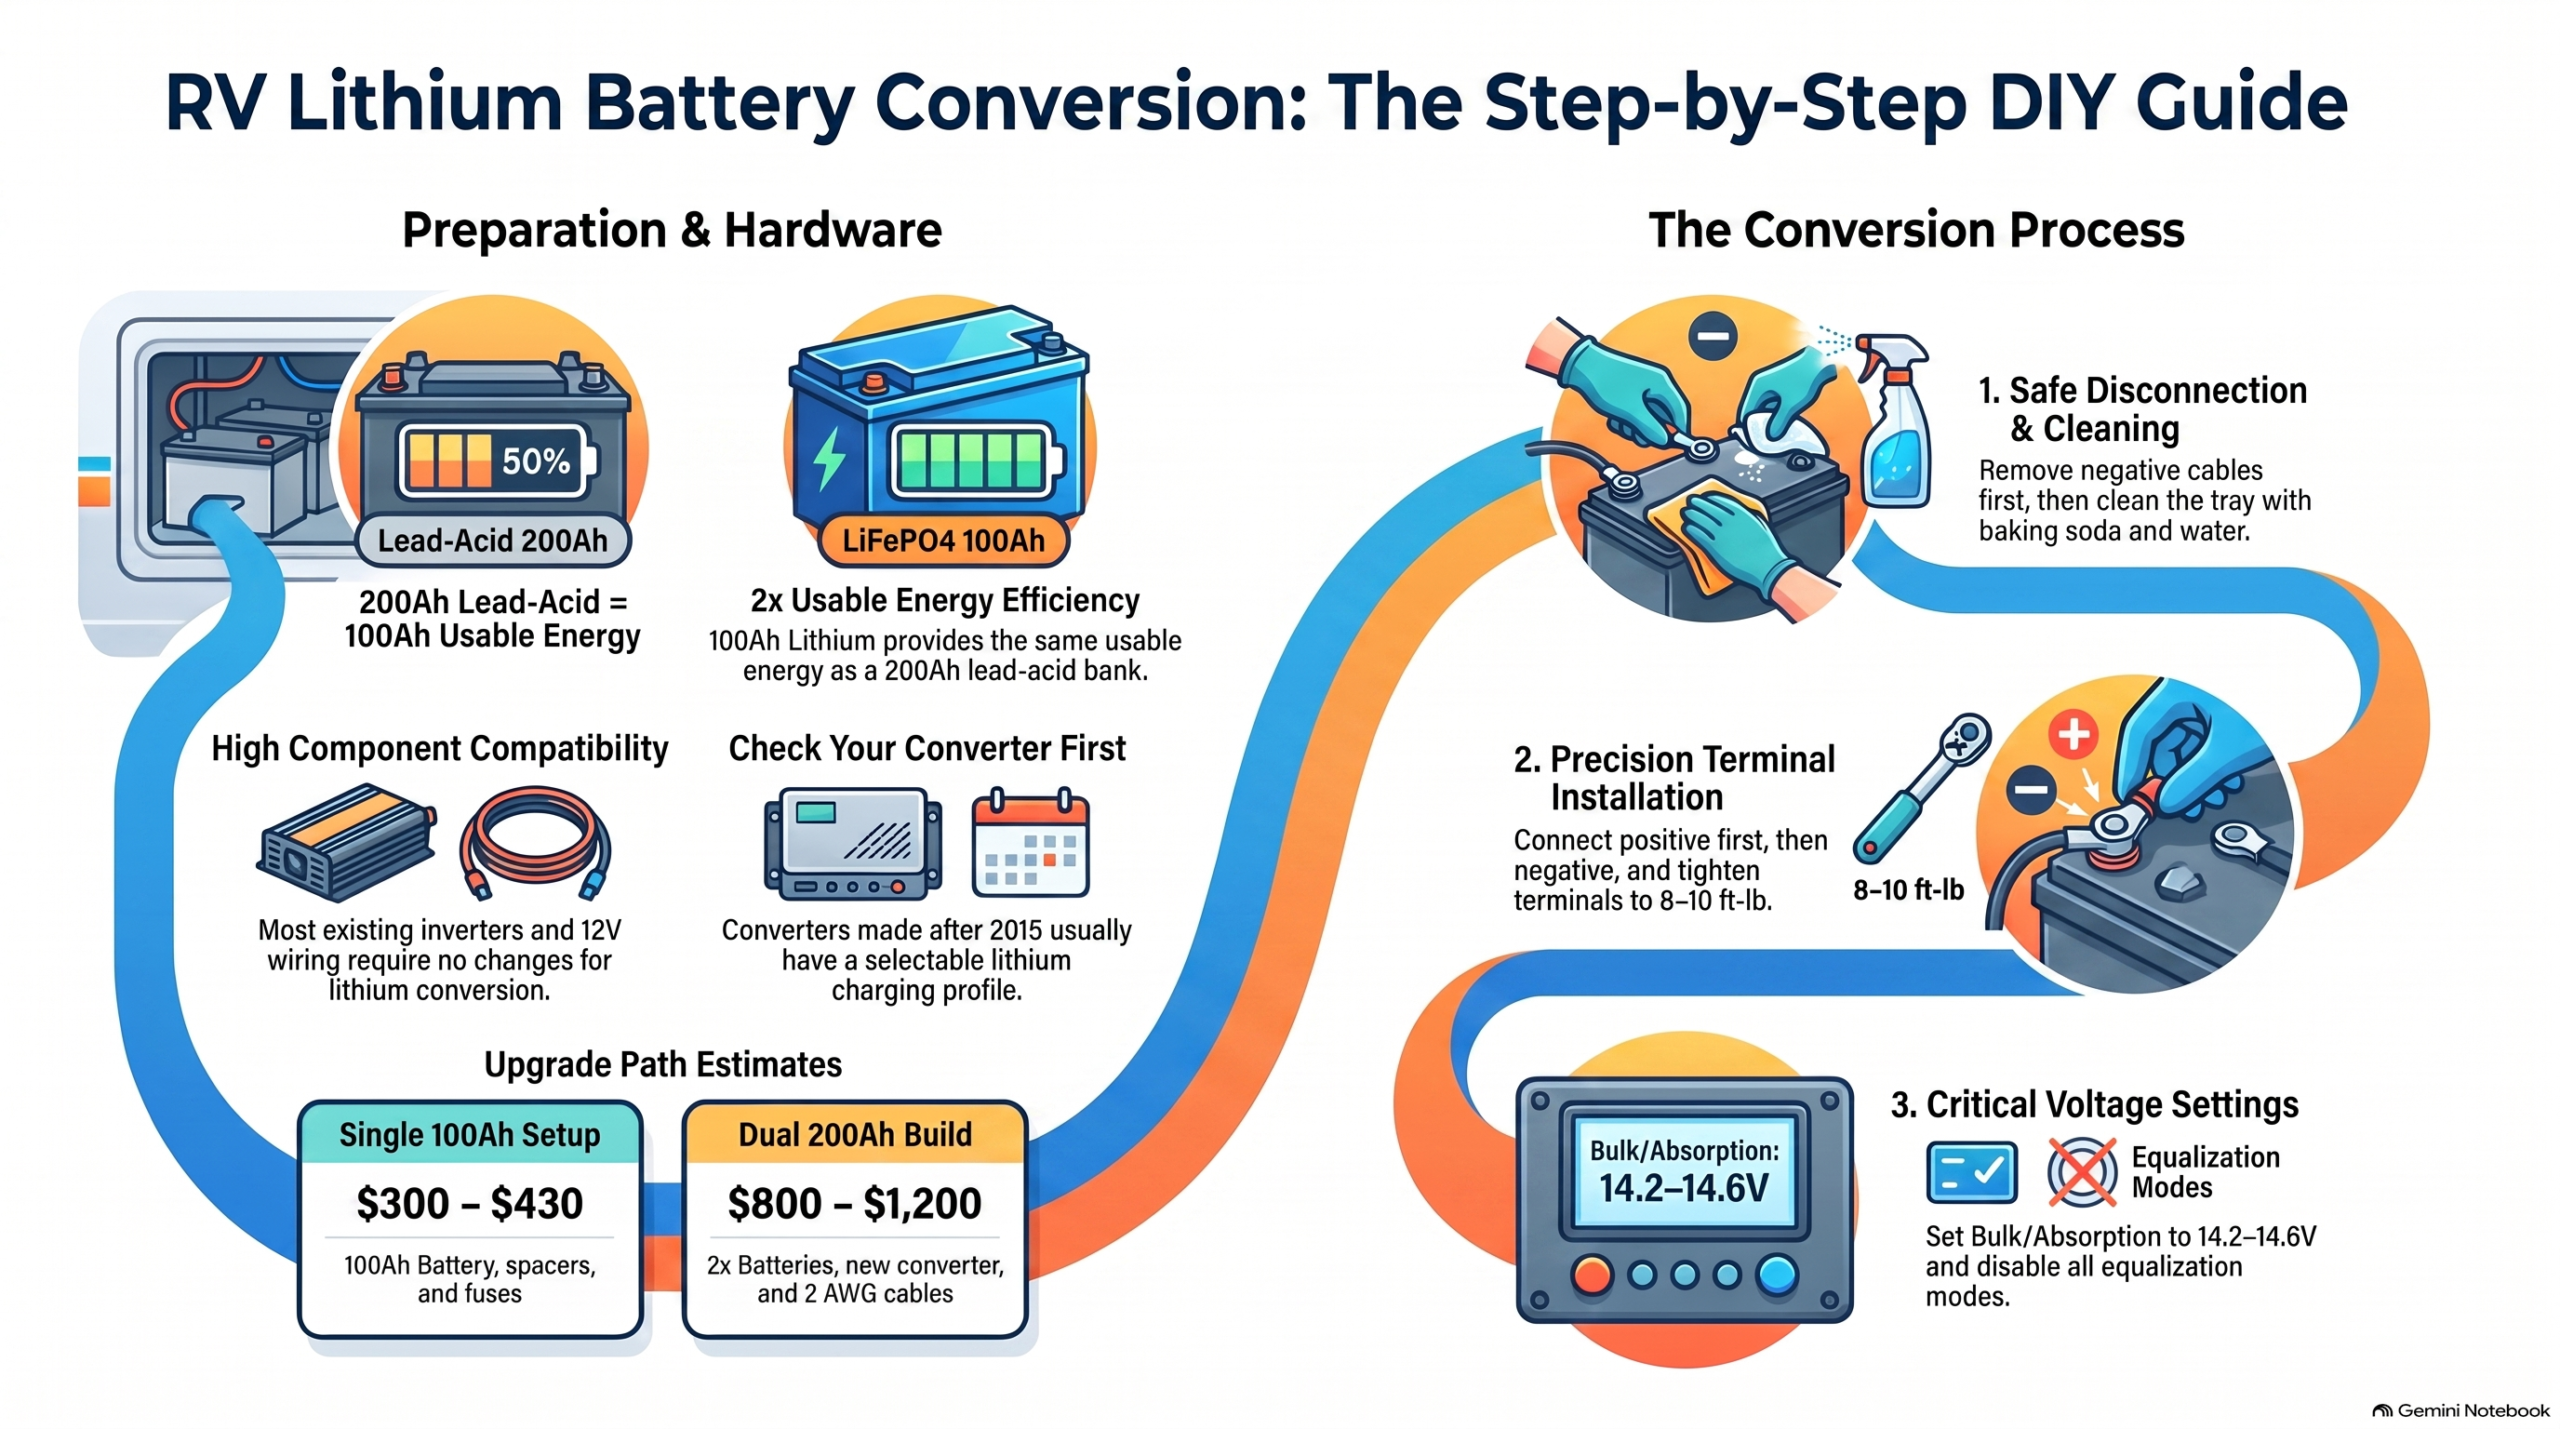
RV Lithium Battery Conversion: A Step-by-Step Guide
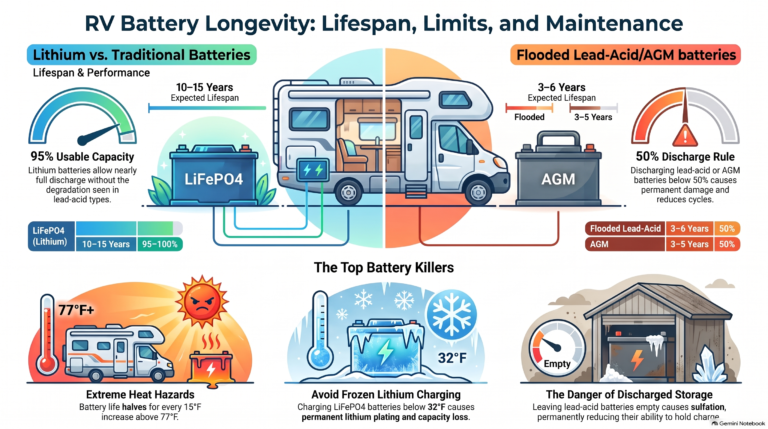
Converting your RV from lead-acid to lithium is one of the most impactful upgrades you can make — and it’s simpler than most people expect. You don’t need to rewire your entire rig. For most RVs, the conversion comes down to swapping batteries, adjusting your charger settings, and occasionally upgrading one component. Here’s how to do it right.
What Actually Changes When You Switch to Lithium
The most common concern is compatibility — will lithium work with your existing converter, solar controller, and inverter? In most cases: yes, with minor adjustments. Here’s what changes and what doesn’t.
| Component | Change Required? | Details |
|---|---|---|
| Converter/charger | Usually adjust settings only | Set lithium charging profile: 14.4V absorption, no equalization |
| Shore power charger | Sometimes replace | Must not have automatic equalization at 15V+ |
| Solar charge controller | Adjust settings | Set to LiFePO4 profile or custom 14.4V / 13.6V float |
| Inverter | No | Works with any 12V battery bank |
| Existing 12V wiring | No | Same voltage system |
| Battery disconnect switch | No (keep it) | Still needed for storage isolation |
| Battery monitor | Recalibrate or replace | SOC calculation differs for lithium flat discharge curve |
Step-by-Step Conversion Process
Step 1: Assess Your Existing Charging System
Pull the manual for your converter/charger and confirm two things: (1) the absorption voltage setting, and (2) whether it has an equalization mode. For LiFePO4, you want absorption at 14.2–14.6V and no equalization above 14.6V. Most converters made after 2015 have a multi-stage profile or selectable battery type — check the settings before assuming you need a replacement.
Common converters with lithium compatibility: WFCO 8900 series (with lithium switch), Progressive Dynamics 9200 series, Victron MultiPlus, Battle Born’s compatible charger list. Older single-stage converters at 13.6V won’t damage lithium but will chronically undercharge it.
Step 2: Choose Your Batteries
Decide how much capacity you need. A useful rule: match your existing bank’s total capacity in Ah, since lithium gives you nearly double the usable energy from the same rated Ah. Replacing two 6V/225Ah batteries (225Ah total, ~113Ah usable)? One 100Ah lithium gets you there. Two 100Ah AGM batteries (200Ah total, ~100Ah usable)? One 100Ah lithium matches it.
For most Class B, C, and smaller travel trailers: one or two 100Ah batteries. For fifth wheels and Class A: 200–400Ah. Budget picks that deliver:
- Redodo 12V 100Ah — best value, ~$270
- Power Queen 100Ah Low-Temp Smart — cold-weather protection, Bluetooth monitoring
- Redodo 165Ah Group 31 — mid-size boondocking, ~$430
- Power Queen 200Ah — extended off-grid use, ~$399
Step 3: Remove the Old Batteries
Disconnect shore power and turn off the battery disconnect switch. Always remove the negative cable first, then the positive — this prevents accidental shorts. If you have 6V batteries wired in series, note which terminal has the series jumper so you don’t confuse it with the main load cable.
Lead-acid and AGM batteries are considered hazardous waste. Most auto parts stores (AutoZone, O’Reilly, Advance) accept them for free recycling — call ahead to confirm.
Step 4: Inspect and Clean the Battery Tray
Old lead-acid batteries often leak acid that corrodes battery trays. Inspect yours before installing the new lithium battery. Light corrosion can be cleaned with a baking soda and water solution; heavy corrosion or structural damage means the tray should be replaced. Lithium batteries weigh significantly less, so existing hold-down brackets may need adjustment — use foam padding or battery spacers to prevent movement.
Step 5: Install and Connect the Lithium Battery
Set the new lithium battery in the tray. Connect positive first, then negative — the reverse of removal. Tighten terminals to 8–10 ft-lb for most battery posts (check manufacturer spec). If you’re installing multiple batteries in parallel, use equal-length jumper cables and connect load cables to opposite ends of the bank.
Step 6: Adjust Charger Settings
Set your converter/charger and solar controller to a LiFePO4 profile, or manually configure:
- Bulk/absorption voltage: 14.2–14.6V
- Float voltage: 13.5–13.6V
- Equalization: Disabled
- Low voltage disconnect: 11.5–12.0V (if available)
These settings ensure the battery charges fully without triggering the BMS over-voltage protection, and won’t cause cell damage from extended equalization cycles.
Step 7: Test and Verify
Connect shore power or solar and watch your battery reach full charge (14.4V at the battery terminals, dropping to float). Run a load test: turn on your fridge, lights, and a fan and verify the battery delivers power without the BMS tripping. If your battery has Bluetooth monitoring, use the app to confirm readings look normal before your first trip.
Cost Breakdown: What to Budget
| Item | Cost Range | Notes |
|---|---|---|
| 100Ah lithium battery (1x) | $270–$350 | Redodo or Power Queen |
| 200Ah lithium (2x 100Ah) | $540–$700 | Wired in parallel |
| Converter upgrade (if needed) | $150–$400 | Progressive Dynamics 9200 or Victron |
| Jumper cables (parallel bank) | $20–$50 | Equal-length, 2 AWG minimum |
| ANL fuse holder + fuse | $20–$40 | If not already installed |
| Battery hold-down / spacers | $10–$30 | Lithium runs smaller than rated group size |
Total for a typical one-battery conversion with no converter replacement: $300–$430. Two-battery parallel build with a new converter: $800–$1,200.
FAQ
Will my existing inverter work with lithium?
Almost certainly yes. Inverters are voltage-agnostic — they work with any 12V battery bank. The only edge case is if your inverter has an internal battery charger (a “combo” inverter-charger) set to an aggressive equalization profile. Check the manual and disable equalization if so.
Can I convert just one battery at a time?
Not if you’re mixing chemistries in parallel. AGM and lithium batteries cannot share a bank — they have different charge profiles and internal resistance. Convert the full bank at once. If your existing bank has two AGM batteries, replace both at the same time.
Do I need a special lithium charger?
Not necessarily. Any charger that can be set to a 14.4V absorption voltage and has equalization disabled will work. Lithium-specific chargers optimize the charge curve for LiFePO4, but a properly configured AGM/multi-stage charger gets you 95% of the way there. Buy a new charger only if yours can’t be configured or runs auto-equalization.
Bottom line: Most RV lithium conversions are a weekend project — swap batteries, adjust two voltage settings, done. The hard part is choosing the right battery for your usage pattern. See our best lithium RV battery guide for the full comparison, or start with the Redodo 100Ah if you just want the easiest path forward.